When it comes to Lowe’s tile installation, having the right tools and materials is crucial for achieving a professional finish. Whether you’re tackling a small backsplash or a full room makeover, preparing with the essential equipment will make the job smoother and ensure long-lasting results. Here’s a comprehensive guide to the must-have tools and materials for a successful Lowe’s tile installation.
1. Tile Cutter or Wet Saw
A tile cutter is a fundamental tool for any lowes tile installation. It allows you to make straight cuts with precision. For larger tiles or more complex cuts, a wet saw is often preferred. This tool uses water to keep the blade cool and prevent dust, making it ideal for cutting ceramic and porcelain tiles. Investing in a quality tile cutter or wet saw will make your installation process much easier and more accurate.
2. Notched Trowel
A notched trowel is essential for applying thin-set mortar to your substrate. The size of the notches will depend on the size of the tile you’re using. For example, larger tiles typically require a larger notch to ensure proper adhesion. A standard notched trowel is a must-have for any Lowe’s tile installation to ensure your tiles adhere securely to the surface.
3. Tile Spacers
Tile spacers help maintain consistent gaps between tiles, which is crucial for achieving a uniform grout line. During your Lowe’s tile installation, you’ll use spacers to ensure that all tiles are evenly spaced and aligned. They come in various sizes, so make sure to choose the right size for the grout joints you plan to use.
4. Thin-Set Mortar
Thin-set mortar is the adhesive used to bond tiles to your substrate. For a successful Lowe’s tile installation, selecting the right type of thin-set mortar is important. Different mortars are designed for various types of tiles and surfaces, so make sure to read the manufacturer’s recommendations. Thin-set mortar provides a strong and durable bond, ensuring that your tiles stay in place for years to come.
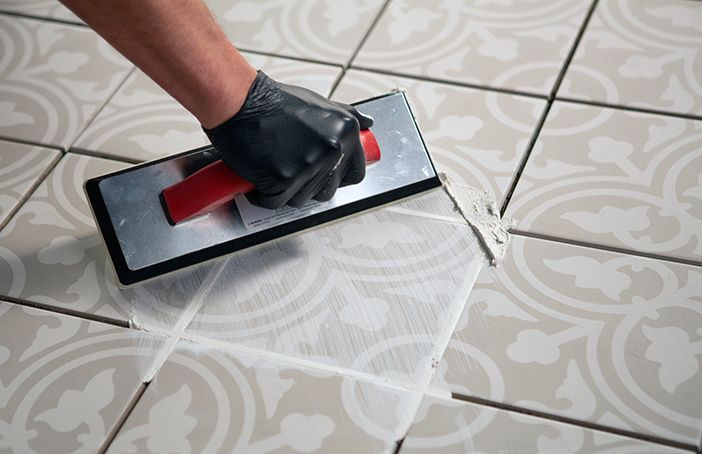
5. Grout
Grout is used to fill the spaces between tiles and provide a finished look. For your Lowe’s tile installation, choose a grout that matches the color and type of your tiles. There are two main types of grout: sanded and unsanded. Sanded grout is typically used for wider joints, while unsanded grout is ideal for narrow joints. Proper application and sealing of grout are key to preventing staining and moisture damage.
6. Tile Leveling System
A tile leveling system helps prevent lippage, which occurs when adjacent tiles are not level with each other. This system uses clips and wedges to ensure that all tiles are evenly aligned. For a flawless Lowe’s tile installation, incorporating a tile leveling system can significantly enhance the appearance of your tilework and reduce the need for post-installation adjustments.
7. Utility Knife
A utility knife is useful for trimming tiles to fit around edges and corners. During your Lowe’s tile installation, you’ll likely need to make some adjustments to your tiles to ensure a perfect fit. A sharp utility knife is a versatile tool that can handle these cuts with ease.
8. Tile Adhesive
Tile adhesive, also known as mortar, is critical for securing your tiles to the surface. For a successful Lowe’s tile installation, choose a high-quality adhesive that is compatible with your tile type and the substrate. Make sure to follow the manufacturer’s instructions for mixing and applying the adhesive to achieve the best results.
9. Rubber Mallet
A rubber mallet is used to gently tap tiles into place without damaging them. During your Lowe’s tile installation, you’ll use a rubber mallet to ensure that the tiles are fully embedded in the adhesive and that they are level with adjacent tiles. This tool helps avoid cracks and other issues that can arise from using a regular hammer.
10. Sponge and Bucket
A sponge and bucket are essential for cleaning up excess grout and mortar during your Lowe’s tile installation. A damp sponge helps wipe away grout haze from the surface of the tiles, while a bucket is used to hold water for rinsing the sponge. Keeping your tiles clean during the installation process is important for achieving a professional finish.
11. Tile Saw Blade
If you’re using a tile saw for your Lowe’s tile installation, ensure you have the right blade for the job. Tile saw blades come in various types, including diamond blades for cutting hard materials like porcelain and stone. Choosing the appropriate blade will ensure clean and precise cuts.
12. Level
A level is a must-have tool for ensuring that your tiles are perfectly aligned during installation. For a successful Lowe’s tile installation, use a level to check the alignment of each tile as you work. This will help you achieve a straight and professional-looking tile layout.
Conclusion
A successful Lowe’s tile installation depends on using the right tools and materials. From tile cutters and trowels to grout and tile spacers, having these essentials on hand will make your project more efficient and help you achieve a beautiful, lasting finish. By investing in quality tools and following proper installation techniques, you’ll ensure that your tiles not only look great but also stand the test of time.